A mixed media project to start the new year!
Do you have mixed media project ideas whirling around in your head?
I certainly hope so because one of my main ones is the opening of my own mixed media supplies store so I can supply you with all the cool mixed media supplies you need! The store is up and running right now so make sure to check it out at mixedmediastore.com.au 🙂
Today I am working on these funky papier mache letters that I pre-primed with white gesso. These will be awesome to decorate my studio and new art shop!
I don’t know why but I actually started with the letter R first (I show you a sneak peak in the video) and although this is the process video for A… Don’t worry, R (and T) will come soon 😉
Ok let’s get to that mixed media project!
- I started applying some turquoise with a brush, then purple then red
- Once dry, I sponged some bright yellow with a chicken wire stencil (ooh, what a lovely contrast!!).
A little bit on the front and each side… - Next, I used Dina Wakley’s lovely Vine stencil to add some interest, using white paint to make things pop!
Again, some on the front, and some on the sides 😉 - Let’s now add some stamped details using dark purple ink but with a rubber stamp mat! These things are originally made for polymer clay and I have a few I used to make pretty clay jewellery with, so much fun! But after getting into mixed media, “I couldn’t help but wonder…” 🙂
And yes, these textured mats stamp beautifully with a sharp impression and since they are flexible, you can bend them to squeeze into small areas. I have been stamping with them for years so I recommend them highly! - Then more stamping (with a regular stamp this time) using these cool circles with fine texture in the middle and silver ink as I want to add subtle details…
- More details with tiny lime green dots (oops that part isn’t shown as my camera stopped filming)…
- Then let’s bring everything together with a little pink paint rubbed in by hand 🙂
- And finally, I applied a little iridescent gold on edges and in patches here and there, love!
- A bit OCD I know, since nobody will see that but, I also painted the ‘feet’ and back with black paint for a professional finish.
I’m very happy now with how my funky mixed media project is coming along 😉
Watch the video tutorial below and let me know your thoughts on this with a comment below (scroll down to the bottom of the page) as I always love to hear from you!
With love and sunshine,
Mimi Bondi
Art supplies used:
(click on blue links if you want to buy the same ones)
- Papier mache letters from Lincraft
- Dylusions paint Vibrant Turquoise, Crushed Grape, Postbox Red, Sunshine Yellow, Fresh Lime and Black Marble
- Makeup sponges
- The Crafter’s Workshop Chicken Wire stencil
- The Crafter’s Workshop Vine stencil
- Clearsnap ColorBox Spirals Stamp Mat
(I think this design isn’t available anymore but you check out other designs here) - Liquitex Basics Medium Magenta
- Pebeo Iridescent Gold
- To protect my project: Liquitex Gloss Medium & Varnish


Want to learn mixed media effortlessly?
My book 'No Shenanigans! Mixed Media Painting' is full of step-by-step tutorials from start to finish!
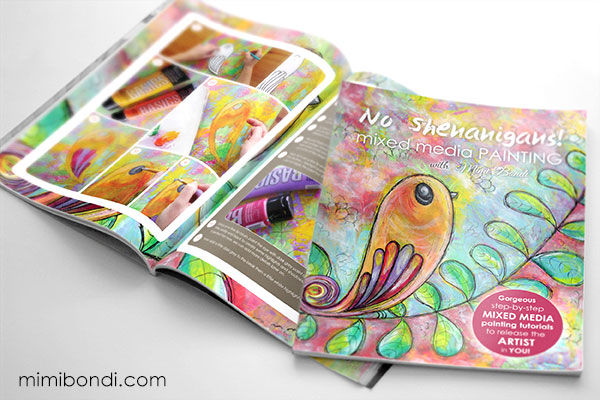
A book to tear up and use in your own art!
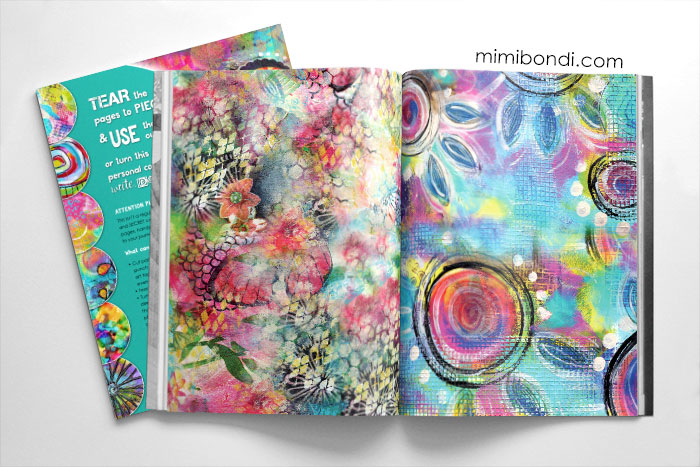
My book 'Secret Stash' is a collection of mixed media backgrounds for you to make more art with!


Absolutely gorgeous!!! I love how easily your projects come together for you.
Lots of work and practice Kellie 😉 Thanks for popping by!