Whimsical Blooms on deli paper tutorial
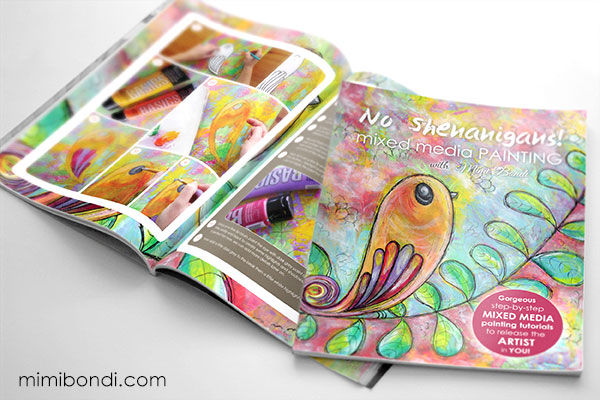
I created this deli paper tutorial especially for the November 2016 issue of MixedUp Magazine and I am now allowed to share it with you, woohoo!
If you haven’t painted on deli paper before, or used it in your art journal, this deli paper tutorial should hopefully have you buzzing with fun ideas on how to use it by the end of it 🙂
Deli paper tutorial, step by step 🙂
Part 1
- Deli paper is VERY thin and a little translucent so you need to be careful with it. I recommend taping your sheet of deli paper to your work surface with asking tape or washi tape as this will make things much easier to paint on 😉
I taped mine on a piece of cardboard to avoid putting too much paint on my table but it moved around a little bit so follow my suggestion above instead lol. - Now let’s add some paint: simply spread some luscious light turquoise acrylic with your fingers, creating a few random patches. Repeat with some bright yellow, cobalt blue and aqua green…
- Let the colours overlap and mix a little with each other and just have fun with the process! Fill the gaps with light purple but be careful, purple will create mud when mixed with yellow 😉
- When your deli paper sheet is mostly covered, dry it out with a heat gun or hair dryer. Or go do your laundry or walk the dog 😉
Part 2
- Let’s create more layers of gorgeous colour now: squeeze your tube of hot pink acrylic onto your brayer then spread it around your deli paper to create uneven, organic patches. Try NOT to cover everything as you want your previous colours to still show through in the end 😉
- Repeat with small patches of orange and let it mix with the wet hot pink. Dry.
- Now I am using Dylusions paint because it is very opaque and I want my next layers to really pop on top of what we’ve just done… Starting with turquoise, I’m adding little dots with my fingers.
- Repeat with yellow and also add a few patches if you feel that your background is a little dull.
- Grab a plastic card, dip it in hot pink and create a few clean lines… I am also smearing some of it on purpose 🙂
- Add some texture with a pretty leaf stencil (all supplies are listed below) and some white paint. Don’t make your white leaves too opaque as you want them to blend in a little with your previous layers…
Part 3
- Now that everything is completely dry (this is important if you don’t want to ruin your pen!), grab a white gel pen to draw some very loose petals, of various shapes and sizes.
- Cut them all out… Don’t they already look gorgeous???
- We are now going to create one large flower on each side of the spread and the reason I’m working in my black Dylusions journal is because I want my colourful flowers to pop instead of getting lost on a busy background!
- Using gel medium, stick your largest petals one by one, slightly overlapping them. Make one side of all petals join up roughly in the centre of the page. Then add smaller petals on top. Make sure to add a little gel medium OVER the petals too to seal them.
- Repeat the process on the left side of your journal and PLEASE, don’t worry if your flowers are wonky or not centered. Really, is it that important?? Just remember to have fun 😉
Part 4 (and the last one in this deli paper tutorial!)
- Let’s now highlight the smaller petals with a black Neocolor II crayon and a little water to create soft edges. Dry.
- Highlight the centre of each flower with a little acrylic. I’m using the same colours as before so it all ties in together: a little light turquoise on the right, a little pink on the left then a few contrasting dots of colour for interest.
- Add some details over the petals and centre of the flowers with your white gel pen.
- Doodle around the petals to your heart’s content and if you feel like it, draw some stems and leaves.
- Add some doodles around the edges of the spread to frame your flowers, and on the black background as well
- And you’re done!
You can also watch the video of this deli paper tutorial below to see how my whimsical blooms developed!
Leave me a comment at the bottom of the page to let me know if you enjoyed this, and I’d love to see how yours turned out (post a photo in the Mixed Media Tribe Facebook group 🙂
With love and sunshine,
Mimi Bondi
Art supplies used
Click on blue links if you want to buy the same ones!
- Deli Paper
- Black Dylusions Journal
- Liquitex Basics paint Light Blue Permanent, Cadmium Yellow Light Hue, Cobalt Blue Hue, Brilliant Purple, Quinacridone Magenta, Cadmium Yellow Medium Hue
- Dylusions paint Vibrant Turquoise, Bubblegum Pink, Sunshine Yellow, White Linen
- Makeup sponges
- The Crafter’s Workshop Art Deco Leaves Stencil 6×6 in
- Liquitex Gel Medium
- Sakura Gelly Roll Pen White Medium
- Crafter’s Workshop Art Deco Leaves Stencil


Want to learn mixed media effortlessly?
My book 'No Shenanigans! Mixed Media Painting' is full of step-by-step tutorials from start to finish!
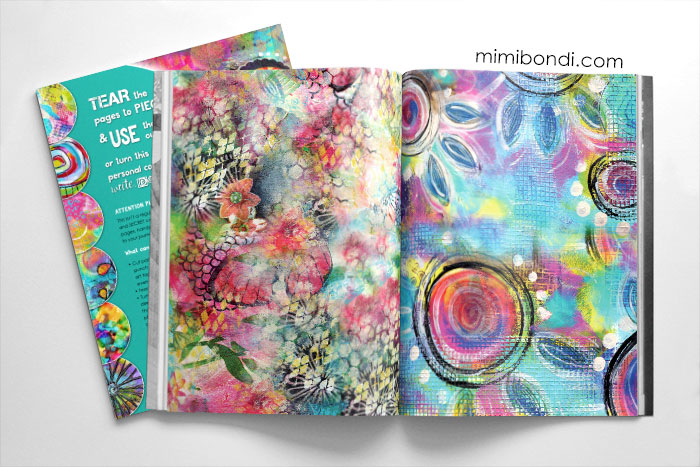
A book to tear up and use in your own art!
My book 'Secret Stash' is a collection of mixed media backgrounds for you to make more art with!


Lovely art work?…the simplicity with which you’ve explained in your video inspires me to make one as soon as possible.Eager to see your next ?
Thank you so much Tulika! It’s so good to hear this as I really want to make it as easy as possible so you can learn fast 🙂 There are lots more mixed media videos to watch and if you’re keen, make sure to check out my book, e-course and online workshops 🙂 xx
This looks absolutely amazing, but then again, I think All of your work does! I really like the way it looks in that black journal. Great job and thanks for the video.
Thank you so much for your support Sharon! So happy to hear you like my deli paper flowers on black background. Hope you’re feeling inspired 🙂
Wow!!! Love it. I like the idea of painting on deli paper to create collage papers. The flowers on the black pages really pop. I need to find my black journal. It’s been hiding somewhere since we moved cross country LOL
Oh, a cross country move is huge!! I hope you find it to get some fun flowers too as deli paper is a lot of fun to play with 🙂
A cross country move is huge! I hope you find your black Dylusions journal as deli paper is so much fun to play with Renee 🙂
Thanks for a great tutorial. I love your use of all the vibrant colors.
Thank you Linda! Hope it got you inspired 🙂