Mixed media art tag tutorial
Well my friends, turning a humble shipping tag into a mixed media art tag could become an addiction indeed!
I know they have been around for a while and I have seen tons of beautiful creations but…
It has taken me until now to create my own!
I wasn’t sure I would enjoy it at first because of the small format but that’s what actually makes them so fun, right?!
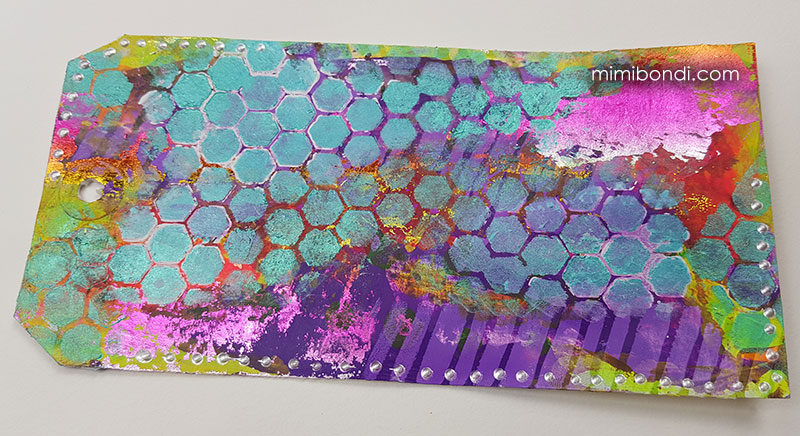
Let me show you the first ever mixed media art tag I created (you will also see it at the start of the video):

In this fun experiment, I mostly used Dylusions Paint, deco foil in Summer Rainbow colours (oh that shine!!), Silver Liquid Pearls, Pebeo Iridescent Paint, a chicken wire stencil – all supplies you can get in my shop: https://mixedmediastore.com.au 😉
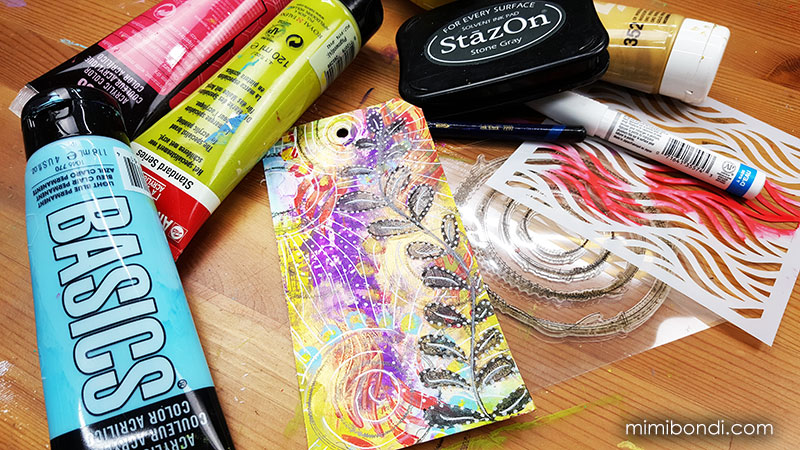
Then I decided to create a second tag and to film my process for you so, here we go!!
Steps to create my mixed media art tag:
- I started with leftover paint (from my 1st art tag!) over a background already covered in gesso
- I filled in my blank areas with a little turquoise paint, then lime green which complement the lovely Dylusions purple 🙂
- For a really contrasting element, I used my wave stencil and red paint – Applying paint through a stencil with your fingers ensures that it will NOT look neat, which is what I wanted here…
- Next, a little iridescent gold paint so I can have some shine peaking through my layers later on.
- I have a new favourite stamp called Stitched Circles, which I show you in detail in the video… Isn’t it cool?? You can use all rings at the same time or just 1, or 2, or 3! Love the stitched details 🙂
- Then a little finer painting with light turquoise paint, magenta and bright sunny yellow…
At this stage I’m not sure I’m liking what I have done but I’ll push on as it can only get better! - I’m adding a focal point with one of my hand carved stamps and dark grey ink…
- … Which I highlight a bit more with a black Inktense pencil and a water brush, and white dots around the leaves.
- A few sun rays around my circles make this design come alive a little more and I’m done!
Watch the video tutorial below and let me know your thoughts on this with a comment below (scroll down to the bottom of the page) as I always love to hear from you!
With love and sunshine,
Mimi Bondi
Art supplies used:
(click on blue links if you want to buy the same ones)
- Shipping tag – get a bunch here!
- Gesso
- Dylusions paint Crushed Grape, Postbox Red, Sunshine Yellow
- Makeup sponges
- Liquitex Basics Light Blue Permanent and Primary Red
- Amsterdam Olive Green Light
- MMS Wave Stencil
- Pebeo Iridescent Gold Acrylic
- White Sharpie Marker Medium
- MMS Stitched Circles Stamp set
- Stazon Stone Gray Inkpad
- Hand carved stamp (learn to carve your own stamps in my beginner workshop here!)
- Black Derwent Inktense pencil
- Pentel Water brush


This is absolutely stunning…love all the touches of our Deco Foil product on there! And I agree… Summer Rainbow is one of my favorite foil colors too! Have you heard about our new Deco Foil Transfer Gel?? I would love to have you try that!
Thank you Julia! I have not heard about the transfer gel and I’m afraid I have not seen in Oz yet… I’d love to try it out one day and if it works well, sell it in my shop at https://mixedmediastore.com.au – Let me know how to get my hands on some 😉
I have done a few tags in the past but they sure didn’t look as good as yours do. Great job, as usual and thanks for the video.:)
I don’t believe that Sharon! But thank you 😉
Love it Mimi xx
Thanks Sharon!! 🙂