You can watch the tutorial for the letter A first but the letter R is actually the one I started with (not sure why but I did!)…
It’s pretty hot today but… Are you ready anyway…? Great!
Let’s keep working on this paper mache tutorial!
- I applied white gesso first and let it dry before painting on some lovely pinky-reddish acrylic…
- I complimented the first colour with some orange then added some contrasting aqua green that I sort of dry brushed to retain a little texture from my paint brush.
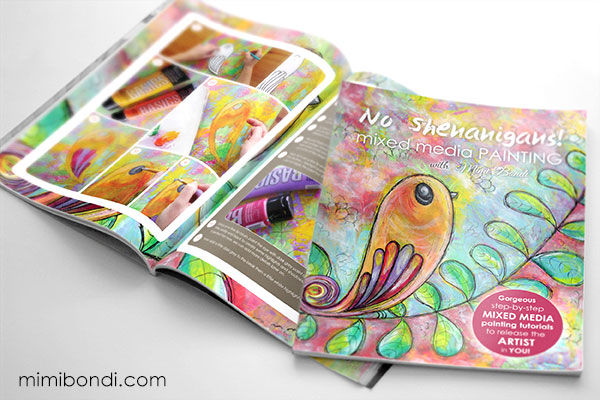
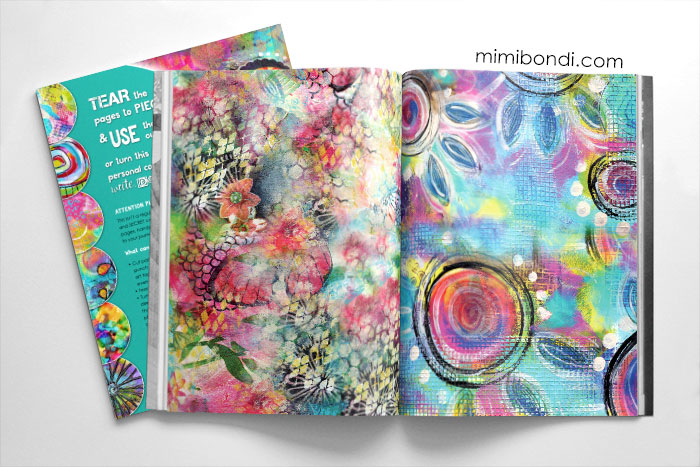
- Next came a floral stencil I used in Chapter 2 of my book No Shenanigans mixed media painting. It’s not an easy one to find so I’ll provide some very similar ones in the supplies list below 😉
I wanted to make sure the colours of my flowers would stand out on top of my crazy colours so I first applied some gesso, let it dry then added some yellow and mauve. - Using a gorgeous leaf stamp, I added some texture on every side of my letter R, using dark purple ink so the leaves are visible but not the main focus.
- Now to bring all my elements together, I did a little finger painting with some light blue, then light green acrylic.
- I wanted subtle details to fill in some of the gaps so I stamped some little circles/bubbles with gold ink (BE STILL MY HEART!)…
- Time to add a little ‘pop’ that will stand out with some tiny white dots using a stencil and gesso once again.
- I know you won’t be surprised as I do this almost every time: I pulled out my iridescent gold and rubbed a little paint on the edges so they will catch the light…
- I finally completed this letter by painting the bottom and back in black, just so it feels finished (to me at least) 🙂
I really love the results!!
Watch the video tutorial below and let me know your thoughts on my paper mache tutorial with a comment below (scroll down to the bottom of the page) as I always love to hear from you!
With love and sunshine,
Mimi Bondi
Art supplies used:
(click on blue links if you want to buy the same ones)
- Papier mache letters from Lincraft
- Liquitex Basics acrylic paint Primary Red, Cadmium Orange Deep Hue, Bright Aqua Green, Light Blue Permanent, Light Green Permanent
- Makeup sponges
- White gesso
- Carabelle Studio Circles Dots stamp
- MMS Leaves Stamps
- Tsukineko Stazon Royal Purple inkpad
- Tim Holtz Dot Fade stencil
- Floral stencil – Try ColorBox Bloom Stencil (the Crafter’s Workshop Solace Stencil would also look cool!)
- Pebeo Iridescent Gold
- To protect my project: Liquitex Gloss Medium & Varnish




I have the letter ‘J’ gessoed, it has been waiting to be painted for a very long time, so now after watching your inspirational ‘A’ and ‘R’ videos I am going to paint it. No excuse, I have the inspiration and the paint.
Oh I’m excited to have inspired you to get back to your project Jan!! 🙂